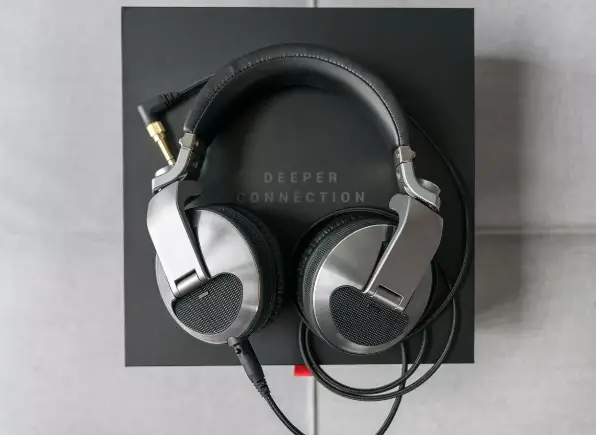
The end of ear cushion life does not mean the end of your headphones. If you were thinking of replacing your headphones due to wear and tear, think again. Here we’ll show you how you can save money by replacing your headphone pads.
Connect with the Expert via email, text or phone. Include photos, documents, and more. Get step-by-step instructions from verified Tech Support Specialists.
Undoubtedly rough, smelly, and deformed ear cushions will impair the sound quality and cause discomfort when listening to your favorite music. It can happen with many types of headphone pads and it’s always frustrating.
If you love your headphones then you don’t have to worry about throwing away your favorite pair. All you need to do is source replacement pads, remove the old ones cleanly and then fix the new ones on. Here we’ll show you how to do it. Let’s get started!
Obtain Replacement Pads
Replacement ear cushions are available for each headphone model. Some manufacturers sell them for their brands. Others may use generic replacement ear cushions that, with the correct size, will fit your headphones perfectly.
Connect with the Expert via email, text or phone. Include photos, documents, and more. Get step-by-step instructions from verified Tech Support Specialists.
Depending on the size and shape of your headphones, find the best fit for your replacement. To do this, you will need to measure your headphones. The ear cups on headphones can be a unique shape so it’s best to measure the height and width.
With these measurements, find the ear cushions that are closest to the average size of your headset. You can even buy replacement pads online but make sure you double-check the sizing so you’re not wasting any money.
Depending on your budget and the features of your headphones, you can choose between foam, velour, or leather ear cushions. Among these materials, there are differences in durability and sound quality. Your choice will depend on your taste but the most recommended option is to choose the original material of your headphones or one as close to it as possible.
Material Required
Before you can attach new pads to your headphones, there are a few things that you may need. If you don’t have them, then it’s a good idea to get them at the same time you get pads to avoid any delays.
- A tool to remove the ear pads from the headphones. Any small, flat object you can fit between the ear cushions and separate them from the headphones without damaging them.
- Pad tape to secure the replacement pads. If these glue strips are not included, purchase ones of the same size and good quality to ensure proper adhesion.
- A brush to clean the surface before gluing the tapes.
Help with setup and starting issues, blinking error lights & all your repair needs in just minutes
Ask a Repairman Live NowRemove Old Pads
The difficulty of this step is usually minimal. If your headphones do not have factory replaceable ear pads, do not worry. Even headphones with fixed ear pads can be removed. Start by checking whether your ear pads are just fitted to the headphones, glued or sewn. Choose the below method that suits your headphone model.
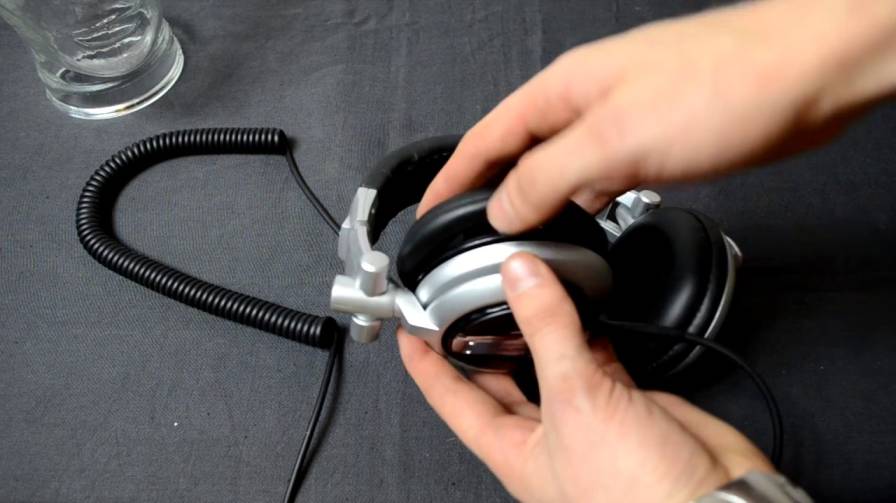
- Fitted ear pads: Open the headphones. Lift one side of the ear pad’s fabric. With the help of the flat tool (table knife, card or flat screwdriver) make a light pressure on the edge’s side. With your other hand, pull the ear pad. It may present resistance but, with some force, the pressure will separate the pad.
- Glued pads: if there is the glue between the pads and the headphone protection, you will know it by inserting the flat tool. In that case, the procedure is to skirt all around the pad by applying pressure. As you go around the entire circumference of the earpiece, the glue will be released. It is just a matter of patience. When sliding the tool under the pads, you will need to be careful not to scratch the headphones’ visible plastic surface.
- Fixed or sewn-in pads: near the headphone wire, there is a tab. This will be the starting point. Use a small screwdriver to pry the casing up and away from the conductor, using extreme caution. After a while, you will be able to feel the clips that join the casing open without breaking. Once you do this, if any fabric pieces are sewn, use a seam ripper to disassemble the ear pad. You should always leave the cable attached during the process.
Installing the New Pads
This step only requires a little patience. The goal is to get a perfect fit for the pads, not to finish quickly. As in step 2, the procedure will depend on the type of headphones you have.
- Fitted ear pads: open the slot in the earpiece. Align the new pad’s cover in the slot. Tighten it in the first section and slowly move forward by sliding the entire fabric around the earpiece with your fingers.
- Glued pads: This is the point at which you will use the self-adhesive tape to secure the replacement pads. Place the tape over the pads before presenting them over the headphones. Make sure you have measured beforehand that they are perfectly aligned. After they are attached, you should avoid loosening them again. Press the pad against the earphone for a few seconds to make sure that it is properly attached.
- Fixed or sewn-in pads: Universal pads will fit your headphones that are not replaceable. Lift the edges of the housing. Place the pads, taking care not to tangle the cable as you rotate the headset. Patiently adjust the pads before adjusting the headphone housing.
Final Thoughts
Headphones can be expensive and you don’t have to buy a new pair anytime anything happens to the pads. You may also have a favorite pair of headphones that you can’t bear to be parted from. Either way, we’ve shown here that there are solutions available to you.
Should you just buy new headphones? Well that’s up to you. Be mindful that finding exact matches to your headphone pads often isn’t cheap. Once you know how much they cost, you can then make an informed decision.
If you do want to change your headphone pads then we hope this guide has made it as easy as possible for you. Good luck!
Max Anthony
Mainly Max Anthony is an athletics tutor & lives in Texas but that's not it. He's is also a music producer, content creator, record producer, writer, and session musician. He has been producing music and engineering at a lower level for over 5 years. His passions include quality music gear and that's what he loves to write about on HifiBeast. ( Shoot him an email now )
Help with setup and starting issues, blinking error lights & all your repair needs in just minutes
Ask a Repairman Live Now

