Connect with the Expert via email, text or phone. Include photos, documents, and more. Get step-by-step instructions from verified Tech Support Specialists.
If you are like me, you are just about ready to toss your new Roper washing machine into the back of your pickup truck and drive it off to a new home.
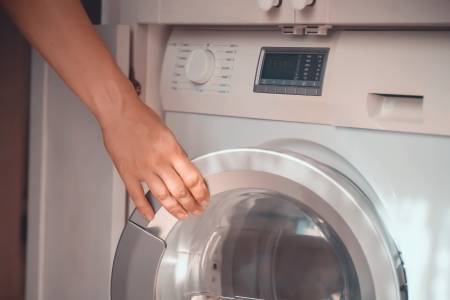
You open the box, remove the product from its packaging, remove the protective plastic wrap from the product, and then make your way to the local hardware store for some supplies. You then proceed to the local Roper Washing Machine repair store, where you have to remove a small piece of plastic from the bottom of the machine.
This is a very time-consuming process and can often be avoided. The following information will help you to open your new Roper washing machine.
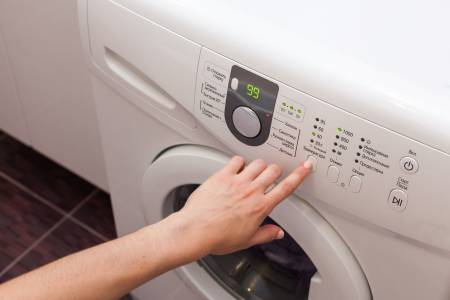
- Place your new Roper washing machine on a flat surface with the top facing up.
- Place the protective plastic bags over all the parts that you are removing from your new Roper washing machine.
- Use the utility knife to cut through all of the tape and plastic wrap that is protecting your new Roper washing machine (you may need to use a pair of needle-nose pliers to help remove screws).
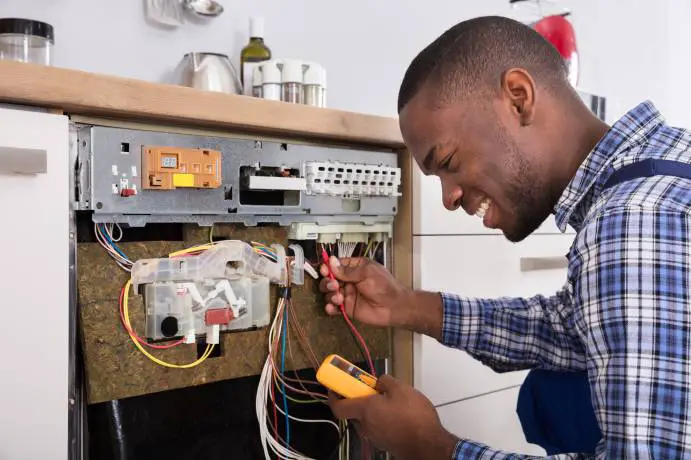
- Remove all of the screws from your new Roper washing machine by using a pair of needle-nose pliers (be careful not to damage any wires).
- With a sharpie marker, mark which parts go where on your new Roper washing machine (for example, label: top cover, bottom cover, bottom door, left drain assembly, right drain assembly, and spin shaft assembly).
- Use scissors to cut away any tape and plastic wrap that may be protecting other parts of your new Roper washing machine (be careful not to damage any wires).
- Use a dry cloth to wipe off any adhesive that may be left on parts of your new Roper washing machine (be careful not to damage any wires).
- Lubricate all the parts that you are removing from your new Roper washing machine with a lubricant (this will help prevent sticking parts together or breaking wires during removal).
- Using a pair of rubber gloves, remove all the parts from your new Roper washing machine by using your fingers to pull out each part (be careful not to damage any wires).
- With a sharpie marker, mark which parts go where on your new Roper washing machine (for example, label: top cover, bottom cover, bottom door, left drain assembly, right drain assembly, and spin shaft assembly).
- Place all the parts in plastic containers (you will need to do this so that you can reassemble them properly after you finish repairing your new Roper washing machine).
- Use a broom to sweep up any adhesive that may have spilled onto the floor (be careful not to damage any wires).
- Once you have finished cleaning up your new Roper washing machine, place the top of the machine back on your new Roper washing machine.

Max Anthony
Mainly Max Anthony is an athletics tutor & lives in Texas but that's not it. He's is also a music producer, content creator, record producer, writer, and session musician. He has been producing music and engineering at a lower level for over 5 years. His passions include quality music gear and that's what he loves to write about on HifiBeast. ( Shoot him an email now )
Help with setup and starting issues, blinking error lights & all your repair needs in just minutes
Ask a Repairman Live Now