Connect with the Expert via email, text or phone. Include photos, documents, and more. Get step-by-step instructions from verified Tech Support Specialists.
Roper is a great brand of washing machines and dryers. They are extremely popular because they have a lot of features, including programmable settings and built-in WiFi connectivity.
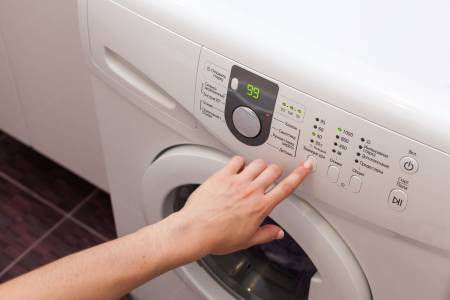
This model has several options for cycle, speed, and delay options. The washer is super quiet, even at the highest setting, which is important for people who live in apartments or condos.
However, there are some people who have reported problems with their washer’s operation.
This article will show you how to fix the Roper Washing Machine if it stops mid-cycle or has other issues with the washer not working properly.
Connect with the Expert via email, text or phone. Include photos, documents, and more. Get step-by-step instructions from verified Tech Support Specialists.
Tools Needed
Basic hand tools, including a screwdriver and flat head screwdriver. A pair of pliers is also required for removing some screws in some models of Roper machines.
Time Required: 20 minutes
Step 1: Check to see if the washer is plugged in properly. Unplug the machine and plug it back in again. If it’s still not working, unplug the machine and wait a few minutes. Then plug it back in again.
Repeat this step until the washer starts working properly. If that doesn’t work, move on to step 2.
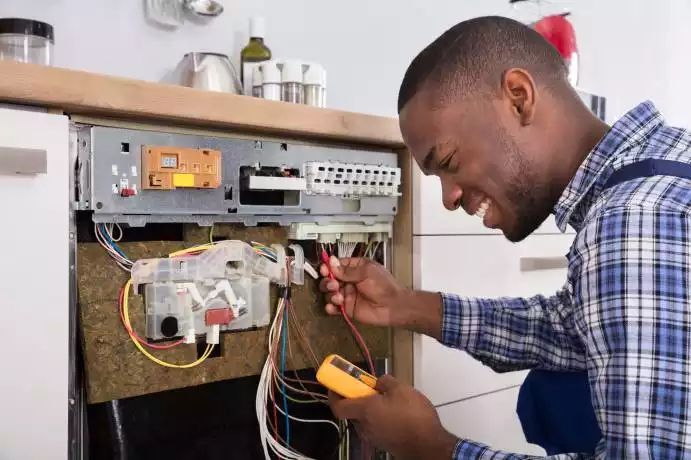
Step 2: Use your hand tools to remove screws from around the back of your washing machine. In some models of Roper machines, you will need to use a pair of pliers for some screws around the back of the machine, which are harder to reach than others.
Once you have removed all of the screws from around the washer, remove all of them from inside as well by pulling them out with your pliers. Do not use any kind of tool for this process as you could damage your washing machine or cause it to malfunction permanently if you use a tool for this task.
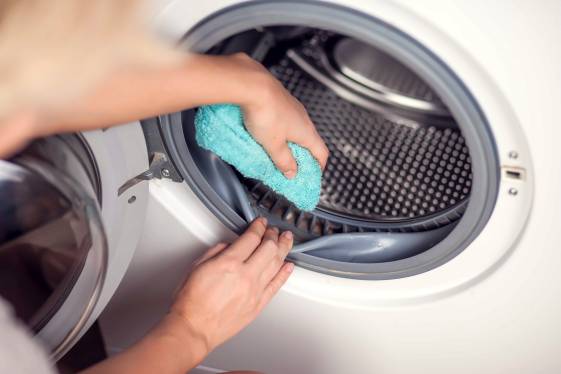
Once all of the screws are removed, take off all plastic parts that are on top of your washing machine by lifting them up with your pliers.
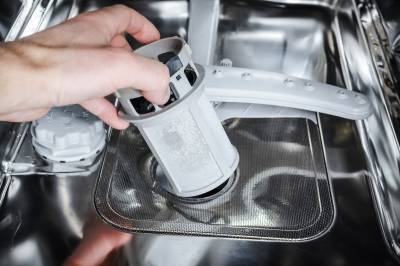
Step 3: Check to see if the washing machine is running properly by checking the drain hose that is connected to the machine. If it is, pull it out and unplug the machine from the wall.
If there is water in the drain hose, then you know that your washing machine is working correctly. Now, check to see if your washing machine has any water left in it by using a cup or glass and placing it under the washer’s tub where water should be draining out of it.
If there is no water in your washer, then this means that something has gone wrong with your washing machine and you will need to take it apart so that you can figure out what is wrong with it.

Max Anthony
Mainly Max Anthony is an athletics tutor & lives in Texas but that's not it. He's is also a music producer, content creator, record producer, writer, and session musician. He has been producing music and engineering at a lower level for over 5 years. His passions include quality music gear and that's what he loves to write about on HifiBeast. ( Shoot him an email now )
Help with setup and starting issues, blinking error lights & all your repair needs in just minutes
Ask a Repairman Live Now