Connect with the Expert via email, text or phone. Include photos, documents, and more. Get step-by-step instructions from verified Tech Support Specialists.
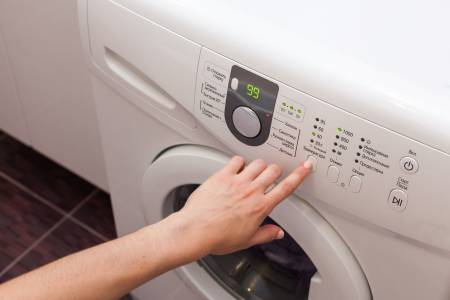
Roper Washer Lid is a small but very important component of Roper Washer. It’s part of the whole washer assembly. When you turn on your washer, this lid will move up and down and it will seal the water inside the drum.
If you want to fix your Roper Washer Lid, then this article will help you. You can find all the necessary information about how to unlock Roper Washer Lid in this article.
Important: Don’t forget to check other parts on the Roper Washer Repair Parts page.
Step 1: Tools Needed
Connect with the Expert via email, text or phone. Include photos, documents, and more. Get step-by-step instructions from verified Tech Support Specialists.
A small flat head screwdriver and a pair of needle-nose pliers.
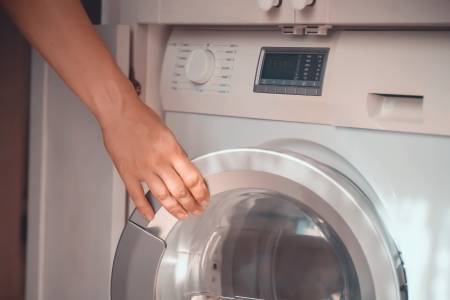
Step 2: Removing the Roper Washer Lid
Remove the old Roper Washer Lid. Use a flat head screwdriver to pry it up from under the edge of the drum. Be careful not to damage the metal washer beneath it. Place it aside for later use.
There are two screws on either side of the lid, one under each corner. Remove them with a pair of needle-nose pliers. Place them aside for later use as well. Remove the metal clip on top of the lid and place it aside for later use as well.
Use your small flat head screwdriver to pry up one corner of the new Roper Washer Lid from under its lip, using your needle nose pliers to pull it out from underneath if necessary (the lip may be stuck).
You will probably need to pry both corners at once, as they are held together by friction alone. Place it beside your old Roper Washer Lid, along with all its parts (clips, screws, and washers).
Remove all those parts from their respective locations and set them aside for later use.
Step 3: Inserting the Roper Washer Lid
Place the new Roper Washer Lid over the lip of the drum. It should fit tightly, but don’t force it in place. Place your two screws and your two washers underneath it. Make sure they go all the way through to the bottom of the lid.
Place your metal clip on top of the lid and push it down into place. Then, using your needle nose pliers, screw in one corner of the lid onto its lip, then screw in its other corner to secure it in place.
The washers will help keep this piece from coming loose during normal use. You should now have a fully assembled Roper Washer Lid, ready for use!
If you have any questions or need any help with this process, feel free to ask us! Roper Washer Lid replacement can be done by any qualified repair technician. Many people are afraid to attempt to fix their own washer, but in reality, it’s really not that difficult. Our parts are guaranteed to fit and work properly.

Max Anthony
Mainly Max Anthony is an athletics tutor & lives in Texas but that's not it. He's is also a music producer, content creator, record producer, writer, and session musician. He has been producing music and engineering at a lower level for over 5 years. His passions include quality music gear and that's what he loves to write about on HifiBeast. ( Shoot him an email now )
Help with setup and starting issues, blinking error lights & all your repair needs in just minutes
Ask a Repairman Live Now